Caulking & Sealing in Toronto & the GTA
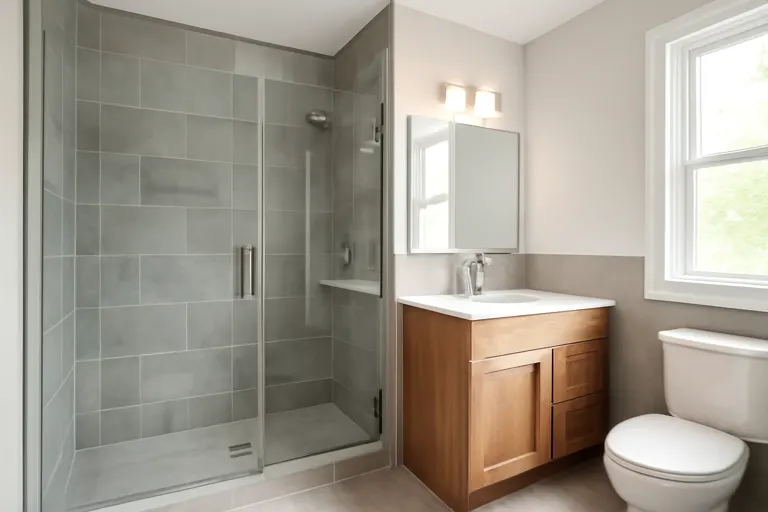
Caulking fails quietly. The bead around the tub goes grey, then black, then starts lifting at the corners — and every shower after that pushes a little water behind the tile or under the tub apron. Most homeowners only call about bathtub caulking once mould keeps coming back no matter how hard they scrub, which means the old silicone is finished and cleaning products can't save it. It is the same story in a Toronto condo shower with a fibreglass surround as in a 1950s Scarborough bathroom with the original tile: silicone sealing that has failed has to come out, not be covered over.
Recaulking done properly is mostly removal. Every scrap of the old bead has to come out with a blade and a remover tool, the joint gets cleaned with rubbing alcohol and dried completely, and then a mould-resistant silicone goes on in one continuous pass and gets tooled to a smooth cove. The common traps are caulking over old residue (the new bead peels within months), filling a wide gap with caulk alone instead of backer rod, and using the tub before the silicone has cured. Kitchen caulking along counters and sinks follows the same order of work with a colour-matched sealant.
For a free quote, send a couple of photos of the joints that need attention — tub surround, shower corners, sink rim, or around the toilet base — and tell us roughly how many metres of bead are involved. If the grout above the caulk line is also cracking, photograph that too, since it often makes sense to handle both in one visit.
What our caulking & sealing service includes
- Complete removal of old caulk with blades and remover solvent
- Cleaning, mould treatment and drying of the joint before sealing
- Backer rod in gaps too wide for caulk alone
- New mould-resistant silicone on tub and shower surrounds
- Tub-to-floor and toilet-base perimeter beads
- Kitchen caulking at counters, sinks and backsplash edges
- Colour-matched sealant where white is the wrong choice
- Tooled, smooth finish on every bead
- Cure-time guidance so the new bead isn't ruined on day one
Just need one small job done?
Caulking & Sealing cost in Toronto: what affects the price
- Condition of the old bead — layers of caulk-over-caulk take much longer to strip than a single failed bead
- Mould behind the joint — staining that has migrated behind silicone needs treatment before resealing, not just a new bead over it
- Joint width — gaps wider than about a centimetre need backer rod first, which adds a step
- Number of wet areas — one tub surround versus tub, shower stall, and two sinks changes the visit length
- Movement in the joint — a tub that flexes when you stand in it needs a flexible sealant and sometimes support work first
- Surface material — natural stone needs a non-staining neutral-cure silicone, not the standard hardware-store tube
Every home is different, so we don’t publish flat prices — the quote is free and based on your actual job. See how handyman pricing works in the GTA.
Caulking & Sealing near you in Toronto & the GTA
Local pages for caulking & sealing in Toronto and across the GTA:
How a caulking & sealing job works with us
Describe the job
Tell us about the caulking & sealing in your own words and add a few photos from your phone — sizes and wall or surface type help.
Get a free quote
We review the details, ask a question if something is unclear, and come back with a quote. No obligation.
Book a visit
If you go ahead, the visit is scheduled at a time that suits you — with licensed trades where Ontario law requires them.
Caulking & Sealing questions from Toronto homeowners
How long before we can use the shower after recaulking?
Why does my caulk keep going mouldy?
Can you just caulk over the old bead to save time?
Is caulking the same as grout, and which do I need?
How often should tub surround sealing be redone?
Do you do kitchen caulking and countertop sealing?
Can you caulk windows and exterior doors?
Ready to sort out your caulking & sealing?
Tell us what your home needs — a small fix or a full project — and get a free quote.