Shower Door Installation in Toronto & the GTA
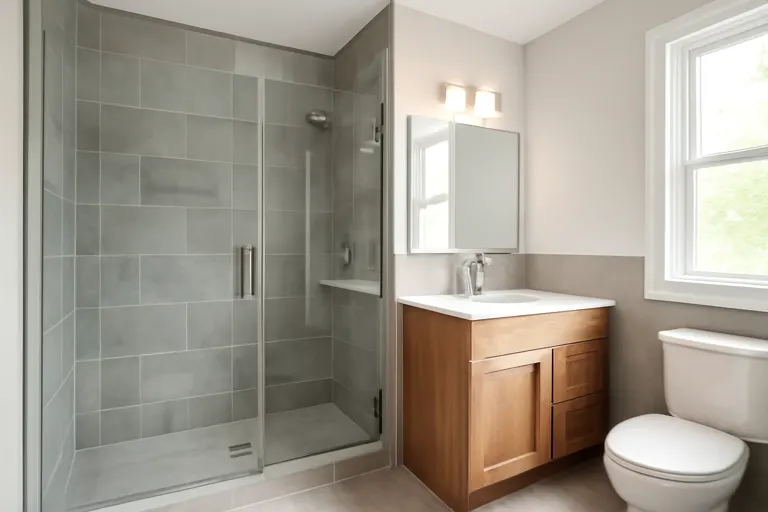
Glass shower door installation is unforgiving in a way most bathroom jobs aren't. The panels are heavy, they don't flex, and the walls they mount to are almost never plumb — so a kit that looks simple in the box turns into a fight the moment the first channel goes on crooked. A door hung even slightly out of true swings open on its own, drags on the sill, or leaves a gap that drips onto the floor with every shower.
Doing a shower enclosure installation properly means measuring the opening at top, middle and bottom before anything is cut, setting the wall channels plumb with shims hidden behind them, drilling tile with the right bits (and into studs or anchors rated for the load), then hanging the glass, adjusting the rollers or hinges until the door closes softly and square, and sealing the outside edges only — the inside weeps water back into the shower by design. The common traps are drilling tile without tape and a guide, caulking the inside of the channels so water gets trapped, and assuming the shower curb is level when it slopes for drainage.
For a free quote, send the width of your opening measured at three heights, the height you want, a photo of the space, and a link to the tub door or enclosure kit if you've bought one. Mention whether the walls are tile, acrylic surround or stone — each mounts differently.
What our shower door installation service includes
- Checking the opening for plumb, level and square before installation
- Removal of an old door, frame or shower curtain rod
- Cleaning up old silicone and screw holes from previous hardware
- Framed, semi-frameless and frameless kit installation
- Sliding tub door installation on existing tubs
- Precise drilling through tile and stone with proper bits and anchors
- Roller, hinge and sweep adjustment for a soft, square close
- Exterior-only silicone sealing so the enclosure drains correctly
- Water testing before we call it done
Shower Door Installation cost in Toronto: what affects the price
- Wall condition — out-of-plumb walls are normal and are handled with shimmed channels, but badly bowed tile takes extra fitting time
- Wall material — porcelain and stone drill far slower than ceramic, and acrylic surrounds need backing to hold screws
- Door style — a basic framed slider is a shorter job than a heavy frameless hinged panel that must be aligned to the millimetre
- Glass weight and access — large panels up condo stairwells or tight hallways need two people and careful staging
- Existing damage — cracked tile or soft wall areas found behind old hardware need repair before new channels go on
- Curb slope — sills that slope for drainage require the bottom track to be cut or shimmed to fit
Every home is different, so we don’t publish flat prices — the quote is free and based on your actual job. See how handyman pricing works in the GTA.
How a shower door installation job works with us
Describe the job
Tell us about the shower door installation in your own words and add a few photos from your phone — sizes and wall or surface type help.
Get a free quote
We review the details, ask a question if something is unclear, and come back with a quote. No obligation.
Book a visit
If you go ahead, the visit is scheduled at a time that suits you — with licensed trades where Ontario law requires them.
Shower Door Installation questions from Toronto homeowners
My shower door kit says it's a two-hour DIY job. Why hire someone?
Can you install a glass door on my existing bathtub?
Why does my new shower door leak at the bottom corner?
Should the inside edges of the enclosure be caulked?
How long before the new shower can be used?
Ready to sort out your shower door installation?
Tell us what your home needs — a small fix or a full project — and get a free quote.